Explanation
Wikis are a great way to collaborate on community-sourced content. Whether it is for a hobby or work-related project, it is good to have a wiki. Experience has shown us the importance of public wikis. The idea of having private wikis is/was new to some, including me. After thinking about the need, I realized how valuable private wikis are.
Problem
There is a need for an app that not only lets us create our own wikis and share them in public but also create wikis and share them in private with other collaborators. It does not matter even if minimal cost is involved to have a private wiki.
Solution
https://github.com/sharadalt/blocipedea
Micropedia application provides the solution for you with multiple features and in a cost effective manner. Once you are registered, You can create free Markdown wikis using Micropedia. You can pay minimal money and have your own private wikis/documents and collaborate with colleagues. The application is still in test mode. You will not be charged now. Don’t be afraid to play with it. Bocipedia provides wiki CRUD operations as well.
Micropedia is built in Ruby on Rails framework with MVC architecture. It uses html , CSS. It uses bootstrap-sass to stylize. It uses responsive web design. It uses ruby gems to achieve some of it’s tasks. It uses SQLite for it’s database needs in developmment mode and PostgreSQL in production mode, on Heroku.
Now comes the fun part! How is the look and feel of Micropedia? Come on in, Let us explore it!
If you want to play with the live application follow the link on heroku
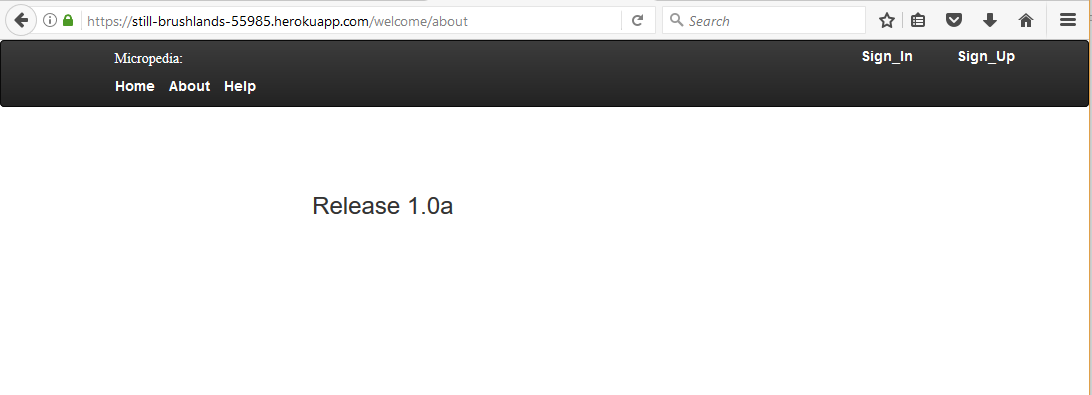
The welcoming ‘welcome page’ of Micropedia is in the Work page of this portfolio, You are free to have one more look at it. The about page shows the release number of Micropedia as below:
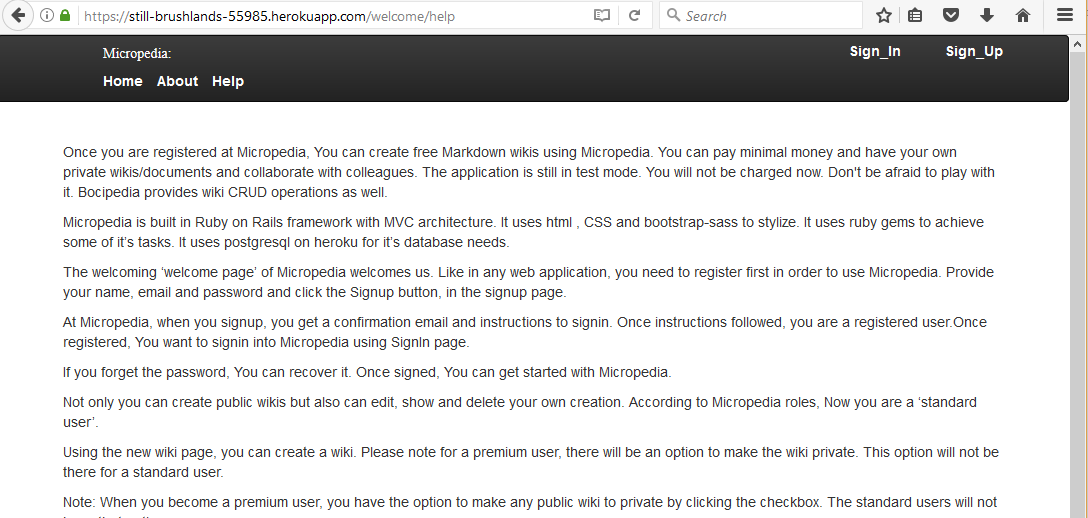
If you click on the help button, you get the information as to what all you can do with Micropedia.
Like in any web application, you need to register first in order to use Micropedia. Question is how do you do that?
Here is the screen, like any web application, provide your name, email and password and click the Signup button, That’s it.
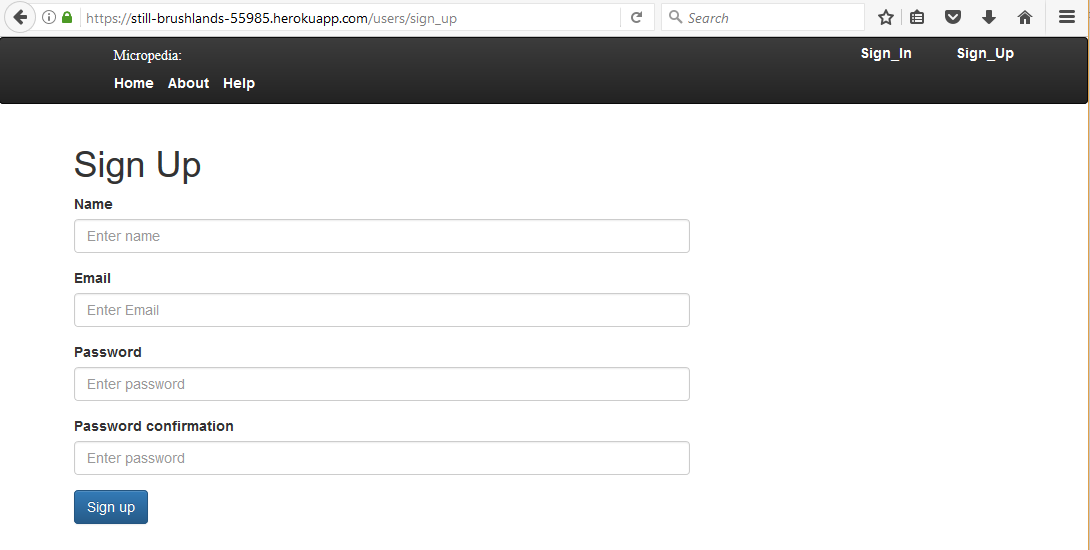
Wait a minute, That’s not it! At Micropedia, when you signup, you get a confirmation email and instructions to signin. Once instructions followed, you are a registered user.
Once registered, what do you want to do next? It’s no brainer, You want to signin into Micropedia.
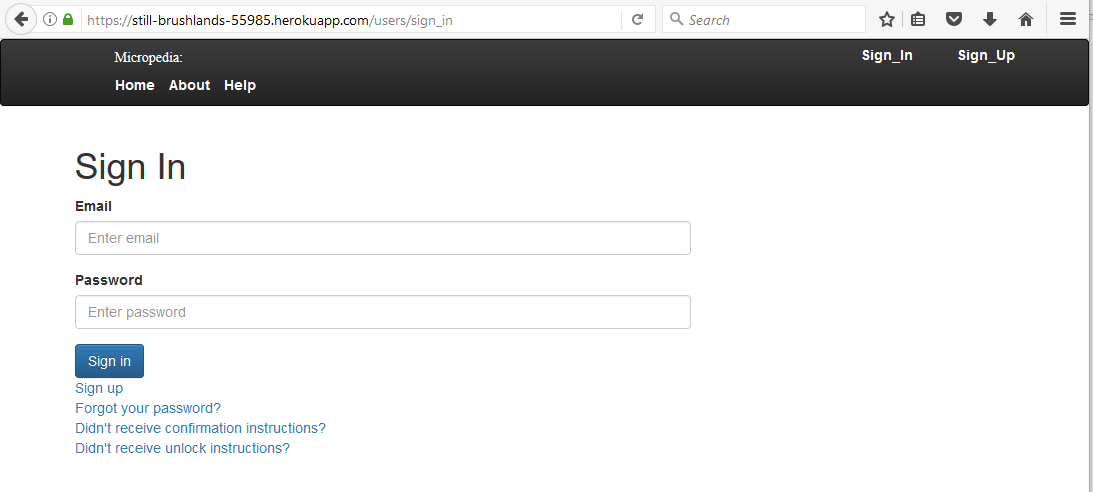
If you forget the password, no worries. Relax.. You can recover it. By the way, Micropedia has user authentication implemented using ‘Devise’ gem, if you care about that.
Once signed, You can get started with Micropedia through the screen below:
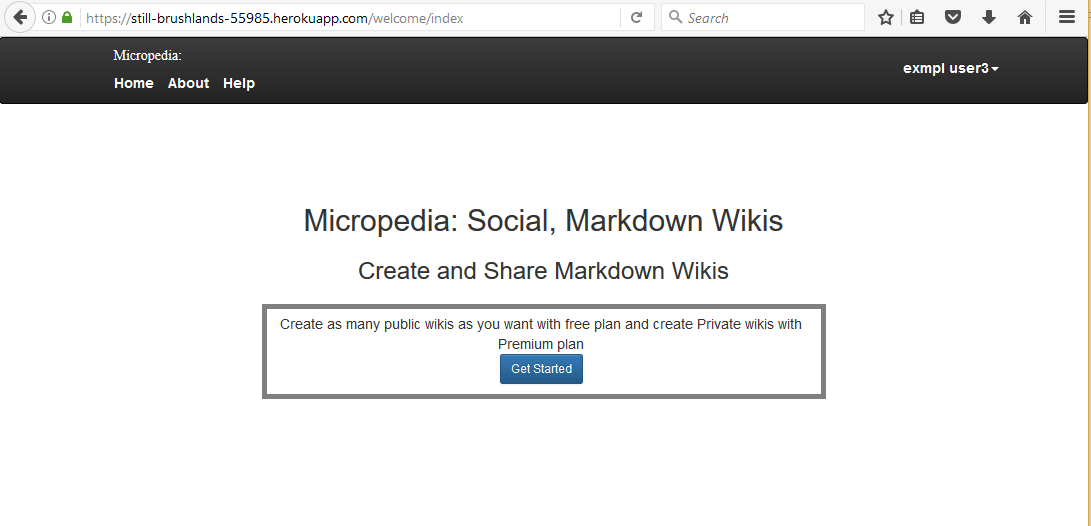
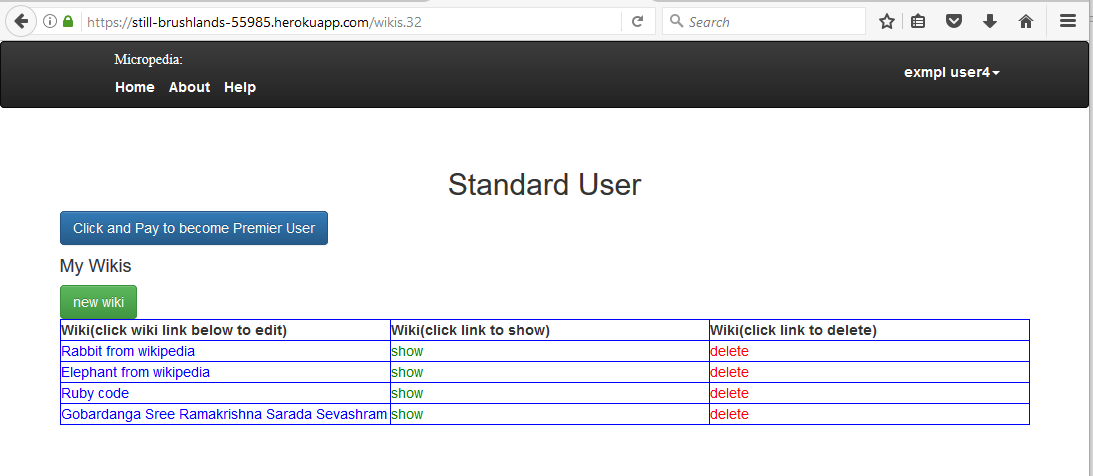
Once you click on that magic button get started, that’s it! you are inside Micropedia !
Not only you can create public wikis but also can edit, show and delete your own creation. According to Micropedia roles, Now you are a ‘standard user’.
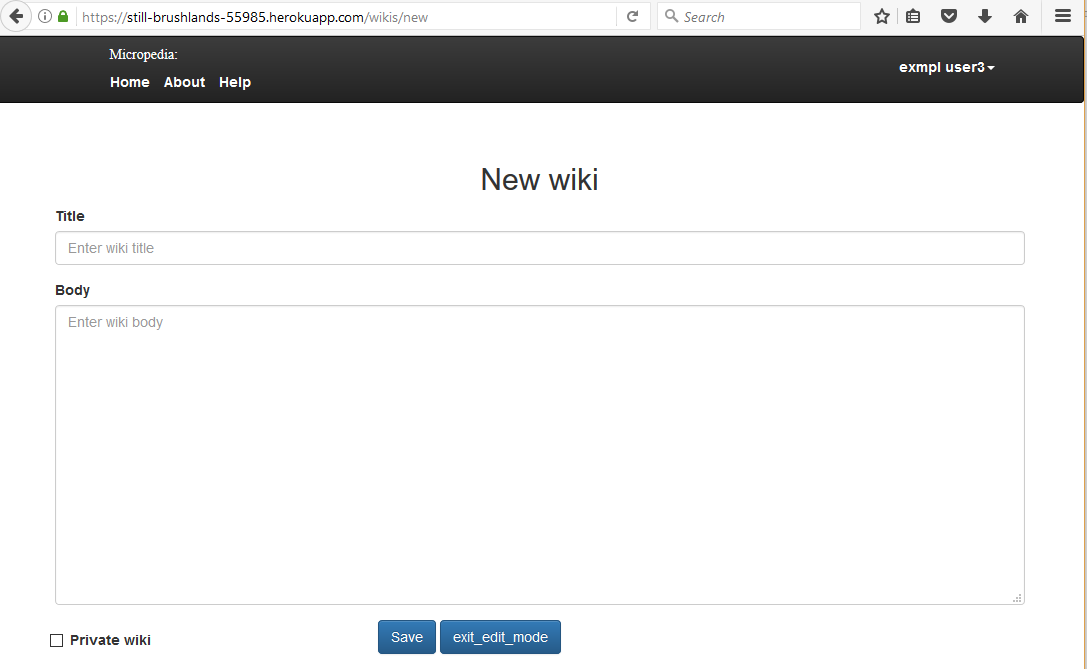
The new wiki page is as below, please note for a premium user, there will be an option to make the wiki private. This option will not be there for a standard user.
This is how your edit page looks like for a public wiki.
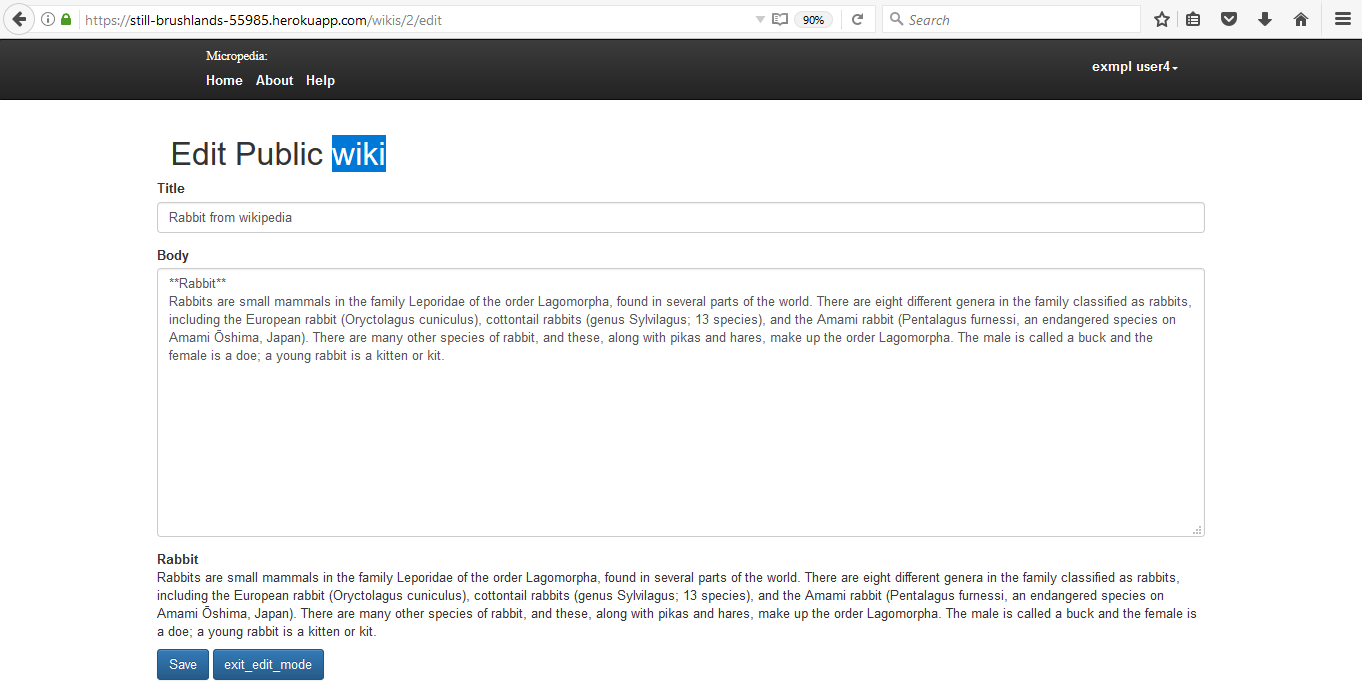
Note: When you become a premium user, you have the option to make any public wiki to private by clicking the checkbox. The standard users will not have that option.
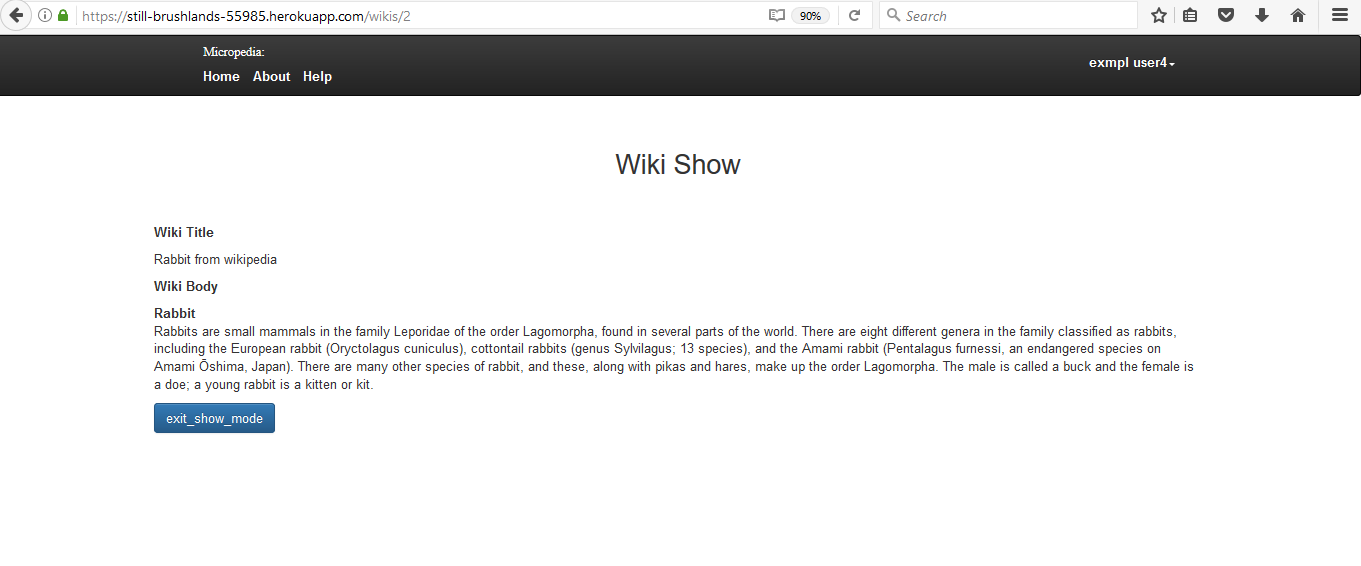
If you just want to have a look at your wiki, clicking that show button will do the trick.
If you wish to have own private wikis, just click on the button which says, upgrade account to premium by paying in standard user page. Boooom…
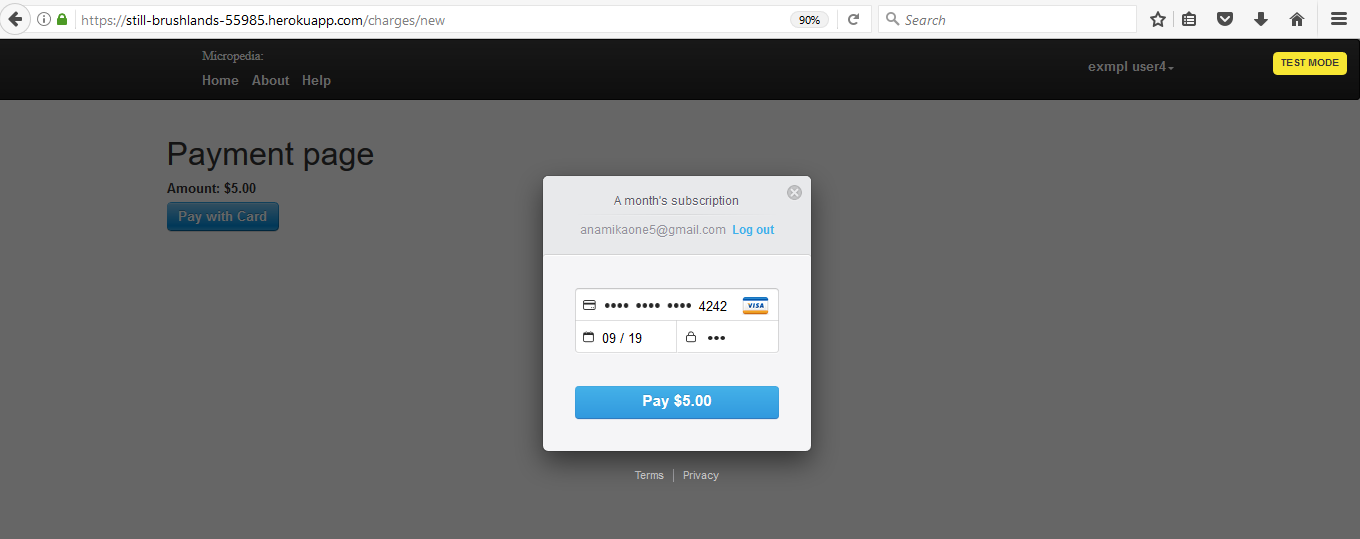
Micropedia has used services of stripe for payment processing, again if you care to know it.
Now after paying, Tat tada …. You become a ‘premium user’! wow!!! That is the role, Micropedia assigns you.
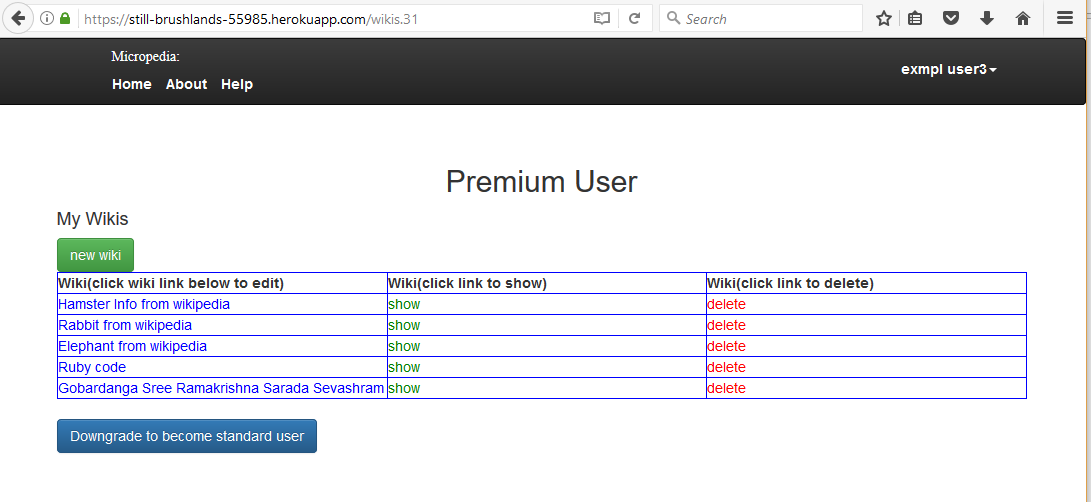
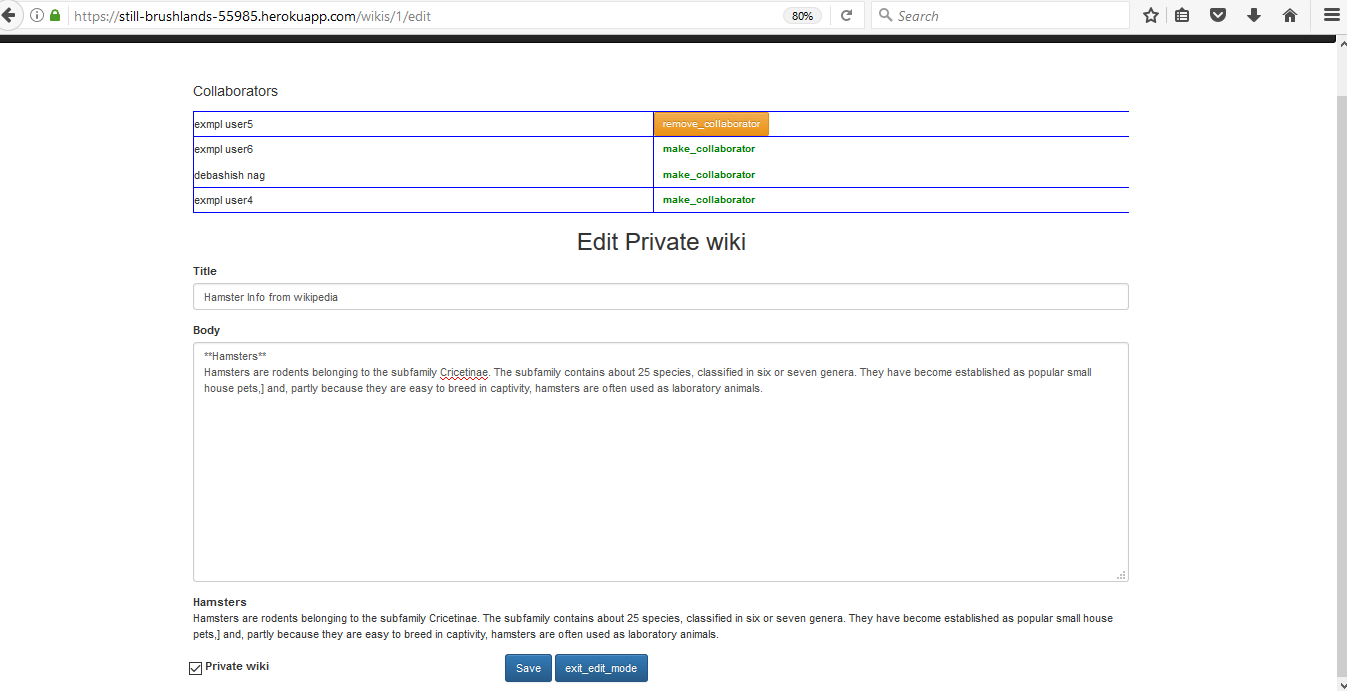
There is one more role called ‘admin’ in Micropedia. This roles thingy is implemented using ‘Pundit’ gem. Premium users like you and admin users are able to create new private wikis and make public wikis private. If you did not figure it out already, you can edit a wiki with Markdown syntax. You can add and remove collaborators for your private wikis. The private wiki edit page is like below with option to add collaborators.
Important note, If you decide to go back to standard user role, that is a piece of cake! At the bottom of premier user screen select to become one. That is it. Remember once you downgrade all your private wikis become public wikis.
Results
With Micropedia, you can create both public and private wikis.
Conclusion
Micropedia is the way togo for creating public and private wikis.